
Before any shingles are nailed down, the contractor will place a water barrier along the entire roof. They will also install flashing around roof features like chimneys, vents, and skylights.

Flashing is metal, usually galvanized steel, that professional roofers use to direct water away from walls and other structures. The roofer will bend a piece of flashing to match the roof’s peak, then nail it into place. Visit https://www.bostonroofingco.com/ to learn more.
The roofing material that you use can greatly impact the look of your home. It can add value and communicate your style and taste to potential buyers. There are many different choices available for shingles, tiles, solar panels and more. Talk to your contractor about some of the newest roofing designs and features to see what options may best fit your needs.
For any shingle roof installation project, you will need a number of tools and materials. A good quality work vehicle with a covered bed is essential for transporting your tools and supplies. You also need a sturdy ladder to reach the highest part of your roof. A sturdy ladder can support up to 200 pounds, so it’s important to make sure that it can handle the weight of any materials you may be carrying up there.
A good pair of work gloves is also important for protecting your hands. They can also help to prevent blisters. A tape measure is a handy tool to have, especially for any roof framing or other tasks that require accurate measurements. It is also helpful to have a chalk reel and chalk to snap lines for the crew to follow. This is especially useful if you are working with older homes that may have a variety of colors and styles of shingles.
Some popular shingle types include three-tab asphalt shingles, architectural asphalt shingles and clay or concrete tiles. Three-tab asphalt shingles are a traditional and economical option, while architectural shingles have thicker materials and create a textured appearance on your roof. These are more durable and last up to 30 years. Clay and concrete tiles are a more expensive option but add style to your home and have a long life span.
One of the newest roofing technologies is solar shingles, which convert sunlight into electricity. These are more expensive than other shingle types but they can increase your home’s energy efficiency. If you are interested in this option, it is best to work with a company that specializes in building-integrated photovoltaic (BIPV) solar systems.
Inspection
Once the old roofing materials are removed, the roofers will take a close look at the sheathing (or decking). If the sheathing is in bad shape, it may be replaced with new material to avoid leaking from the roof. In addition, the roofers will inspect all of the flashing (which is usually aluminum or galvanized steel) and replace it if necessary to prevent water leaks at the valleys, chimney, vents and other roof features. Felt or synthetic underlayment will also be installed.
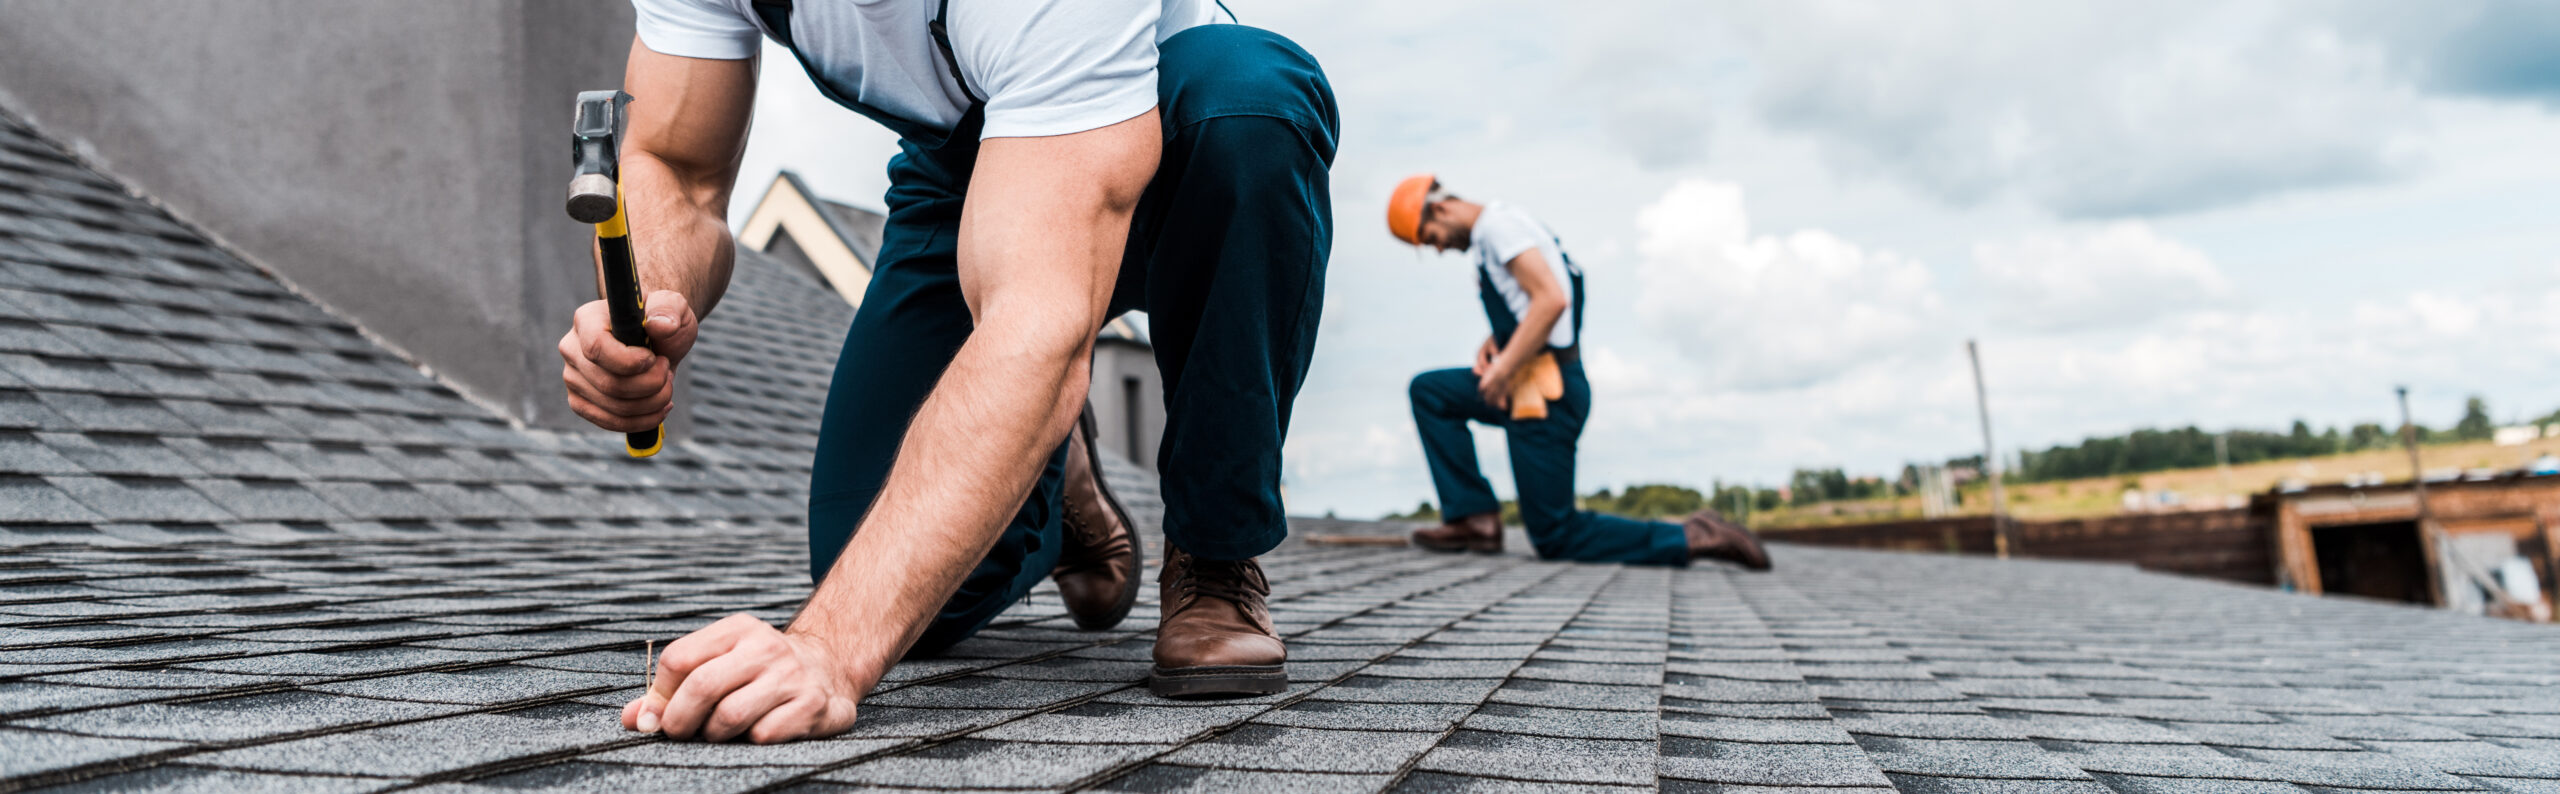
Once everything is in place, the roofers will install the new shingles on top of the underlayment. In some cases, a drip edge will be added along the bottom of the roof to keep water from pooling and damaging the shingles. The shingles will then be sealed to ensure they are waterproof.
As a homeowner, it’s a good idea to be present during this inspection process so you can ask the roofers questions and make sure the work is being done correctly. If possible, you can also walk around the house with your inspector to check for damage to walls and cabinets and to look for signs of pest infiltration, such as termite tunnels or mold. You can even ask your home inspector to test for radon in some areas.
Tear Off
While regular maintenance and repair will help extend the lifespan of your roof, every roof reaches a point at which it’s necessary to get a new one. The first step in the roofing replacement process is to tear off the old materials and components. This is known as a “roof tear off,” and it can be a bit scary for homeowners not familiar with it. Thankfully, you can prepare yourself for this part of the process by understanding what it looks like and how it works.
In a roof tear off, the roofing contractor removes all of the existing roof materials and components from the decking of your home’s roof. This includes shingles and underlayment. It also means that any rotting or other structural damage to the deck is removed so that it can be replaced. Having a clean slate for the roof replacement gives your new roof a chance to be successful, and it also increases your home’s value by providing future buyers with peace of mind that your house has a solid structure.
During the tear off, the roofers will usually park a dumpster or other waste container nearby so that they can toss the old materials into it as they work. If you have any movable items near your house, be sure to cover them with tarps or other protective covering so that they don’t get damaged by debris falling off of the roof. Additionally, you should place tarps on the ground to catch any nails that protrude from the shingles during the demolition process.
If you want to skip the tear off and go straight to a new roof, it’s important to understand that you’re likely to pay more for it. Getting a new roof overlay or recover instead of a completely new roof will likely result in lower quality roofing, and many roofing companies will refuse to offer a price reduction if you choose to skip the tear off. Be sure to discuss the pros and cons of each option with your roofing company before you make a decision.
Installation
Whether they are installing a new roof or replacing an existing one, a professional roofer must follow specific steps to ensure that the finished product will provide protection, energy efficiency, and enhanced curb appeal for years to come. The process begins with the preparation of the roof deck, which includes ensuring that it is free from damage and capable of supporting the new roofing material.
Next, the roofer will install any needed flashing. This may include protecting the eaves with drip edge flashing, securing roof valleys with valley flashing, or installing ice and water sheathing in particularly leak-prone areas of the roof. Depending on your needs, you may also wish to have roof vents installed or add more for improved attic ventilation and energy savings. This is a good time to discuss your options with your contractor, including shingles for added curb appeal, three-tabs for lower cost, wood shakes for natural beauty, or metal sheeting for extreme durability.
Once the flashing is in place, the underlayment will be installed. This step is essential to protect the roof from moisture and mold, which can destroy a home’s structure. A roofer will overlap the first row of underlayment with the next by at least six inches and secure them with nails that are closer together near the edges and spread out more toward the center.